Simpolo Spark Virtual Space Creator user guide
The revolutionary room visualiser software
Simpolo Spark Blueprint
The Simpolo spark Blueprint is an easy tool to use Visualize your own room in 360 views for our consumers.
It allows our customers to discover, evaluate, mix and match the complete product portfolio and sanitaryware products.
The result is instantly visualised in an ultra-realistic and emotionally appealing way.
CONFIGURATOR
The first window you see when you launch Space Creator on our website, Simpolo.net/virtual-space-creator, is the imagie below;-
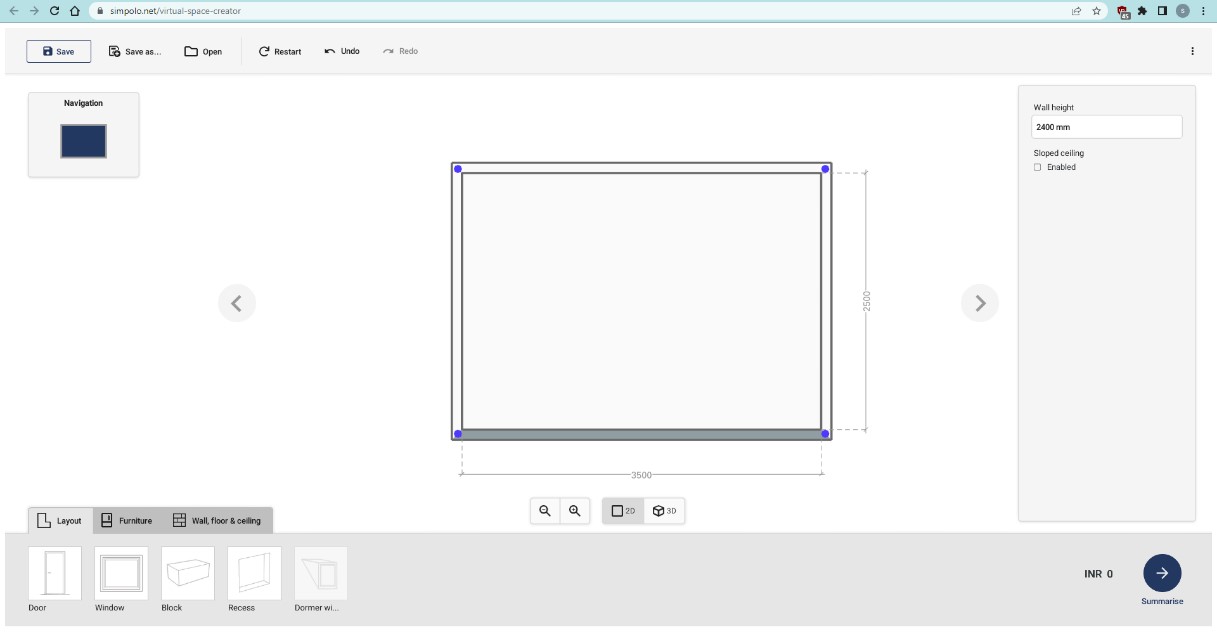
There are 5 major section which is :
1. Control bar :
The Control bar contains application wide actions such as saving and loading projects, redo and undo actions, the Assortment manager, user account control and settings.
2. Drawing area :
The drawing area displays a view of the current drawing. The drawing can be viewed in either 2D layout view or a 3D perspective view.
3. Palette :
The palette contains objects and products that can be placed in the drawing.
4. Property Panel :
This panel displays the configurable properties of the object that is currently select in the drawing—for example placement, rotation or colour. The properties available depends on the object.
5. Navigation Panel :
The navigation panel shows which wall or floor is currently viewed in the Drawing area. It also allows you to quickly select a surface by clicking it.
-
Step 1) Modifying room layout
Start off by getting the measurements of your room. Make sure the “Layout” tab is selected in the Palette.
Modifying the wall lengths
1) In drawing area, you can click and drag wall to adjust with your measurement.
2) You can modify wall sizes with the arrow keys on the keyboard. It will be moved by pressing 1 millimetre at a time. To move it 10 millimetres at a time, press the arrow while holding down the shift key.
Select a wall by clicking and then changing the value “Wall height” in the Property panel.
Adding Wall Section
Adding walls is done by adding corner points and moving them.
To add a corner point, double click on wall. (To remove a corner point, double-click on the corner point itself.)
So, for example to create an L-shaped drawing, add two corners and move one corner to create the L-shape. Then move the walls to the desired measurements.

A) Layout:- Here you choose the layout option for adjusting your room according to area and dimension of your particular space with the basic elements of layout. Such as Door, Window, Block & Recess.
1) Door
2) Window
3) Block
4) Recess
Adding Building Objects
For Adding Any element on wall you just click on object and place it in wall.
• Click on the door icon in the lower left to insert a door.
• Click in the drawing where the door should be.
• Then the door can then move by clicking and dragging it.
• Select the door type and specify the door’s dimensions in the Property panel.
• You can modify the door like inside or outside, opening to Left or right according to your design.
Windows and all other objects can be added in the same way. Doors and windows can be placed in walls.
Blocks can be used for many purposes such as walls or built-in bathtub platform and creating levels. Surface products such as tiles can be placed on a block.
The recess can be placed on walls and can be decorated with surface products such as tiles.
Dormer windows can only be placed in sloped ceilings. They can be decorated with surface products.
-
Step 2) Adding Furniture
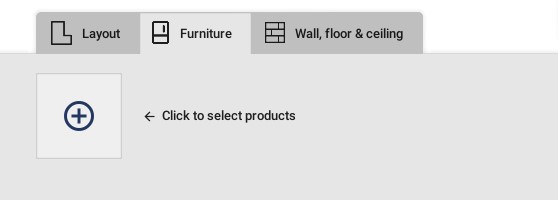
To add furniture to your drawing select the Furniture tab in the Palette.

Click on the “+” button to open the Select view.
In the Select view, choose an assortment from Blueprint bath and furniture on the top left side.
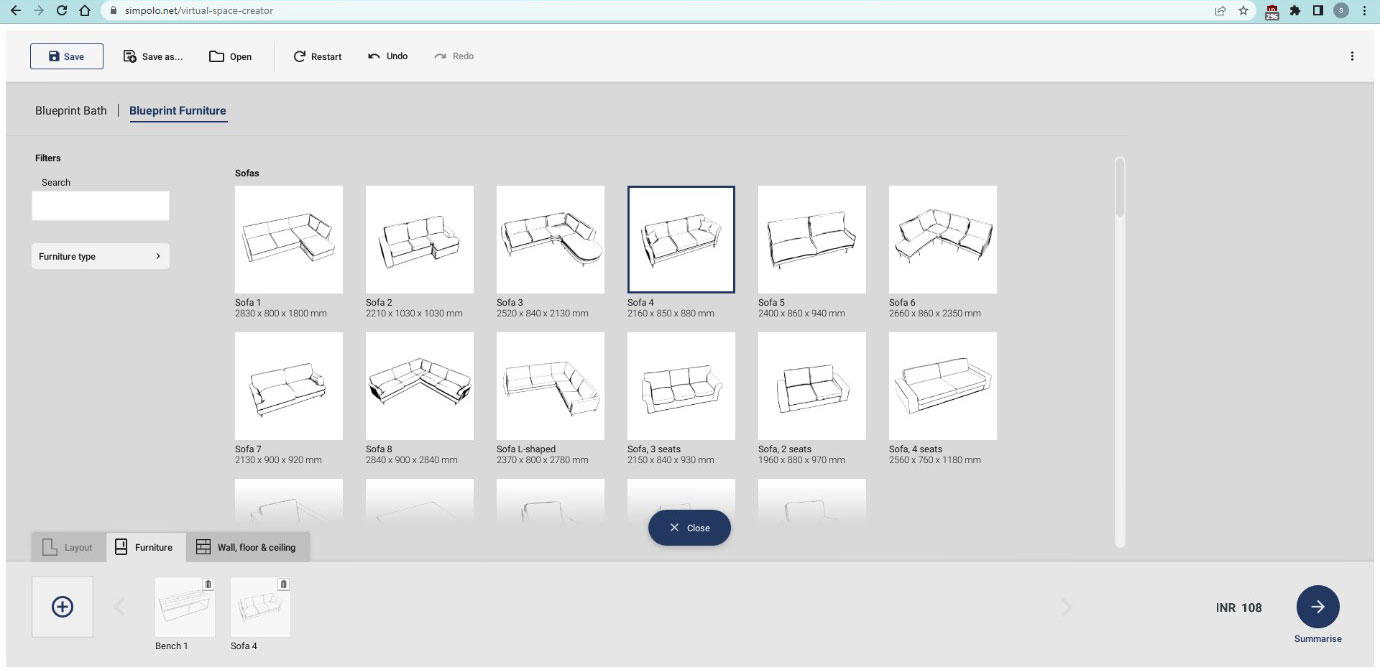
Select one or more products and close the Select view again.
Place the products in the drawing by selecting them in the Palette and clicking in the drawing. This can be done both in the 2D and 3D perspective.
To remove a product from the drawing.
• Select the product and press “Delete” on your keyboard.
• Drag the product outside the walls of the room.
You can modify the furniture colour or texture with matching colour tiles.
-
Step 3) Adding Tiles
To add Tiles to your drawing, select the Wall, floor & ceiling tab in the Palette.

Click on the “+” button to open the Select view.
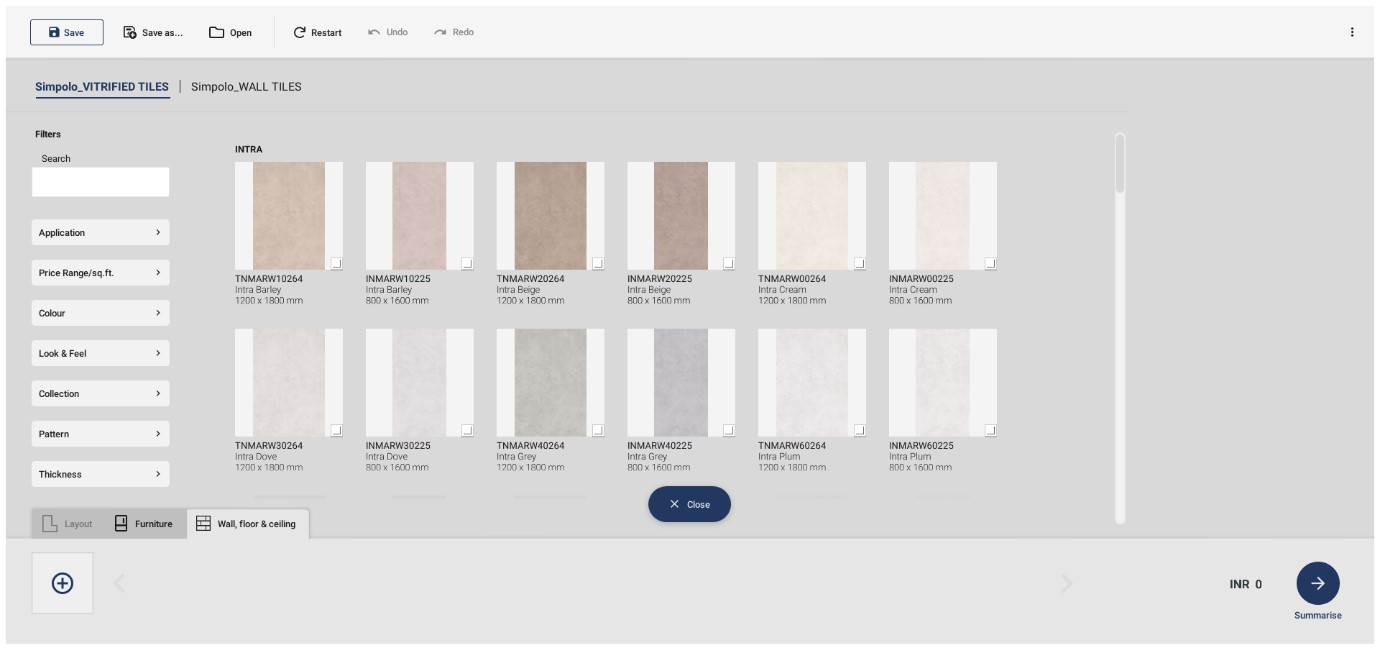
In Select tab you will find list of tiles. You can select tiles as much as you want to and use in your Design.
To find tile there are many filters available. Like :
• Search Tab : Where you can find tile by name, size, code, colour and many availability in your mind.
• Application : where you want to apply in floor or wall
• Price Range : You can have the idea how much is going to cost or but keep in mind that price in here is maximum retail price you can have the discount according to how much you want, when and where.
• Colour : in this tab you can filter tiles by colour there are many colours already you can choose from them
• Look & Feel : what type of look you have in mind you go through with this section.
• Collection : We launch tiles in different collection you select and see all the tiles in each collection
• Pattern : where you can filter from randomness to book match
• Thickness : you can filter thick of the tiles also.
You can one or more than once to finalize your product.
Once you select all your tile, close select view.
Placing the tiles on surfacesSelect a product in the Palette
Click and drag along a surface in the drawing to put several tiles in place.
When you select tile, a new property panel open on the right of the screen, where you modified many things like :
• Change the Pattern of tiling in surface.
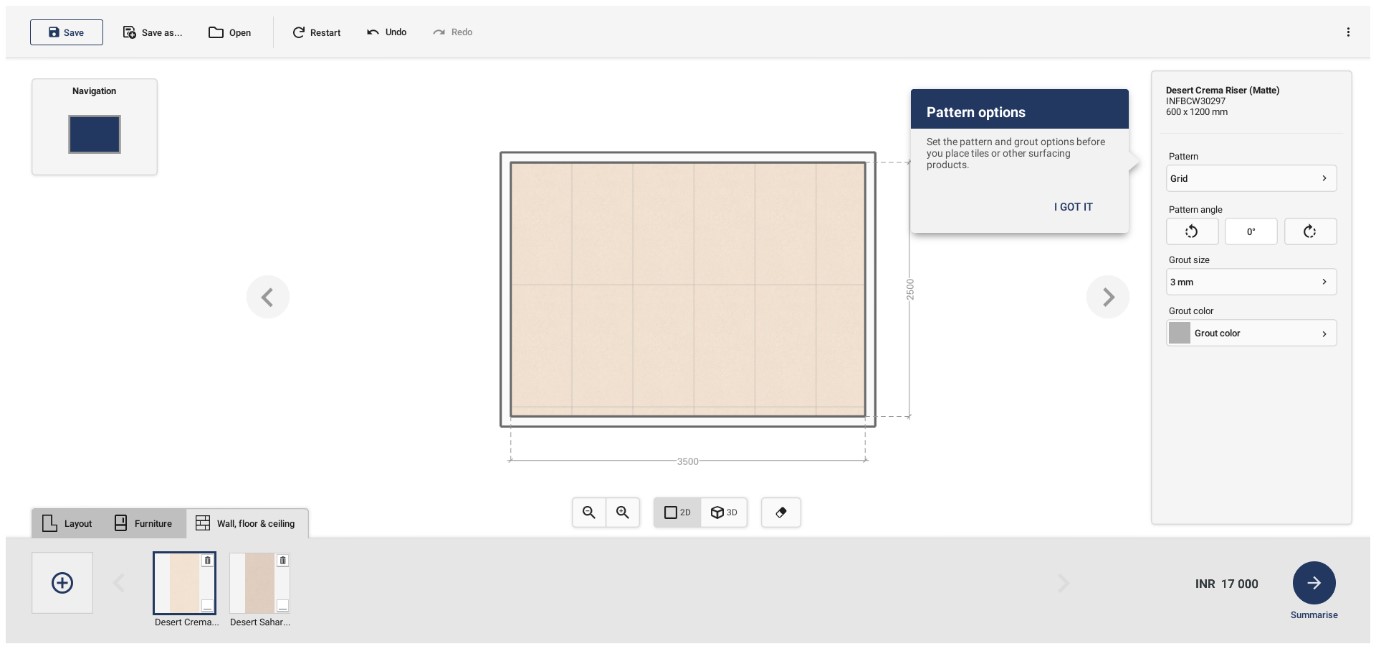
• You can change the angel of tiles also.
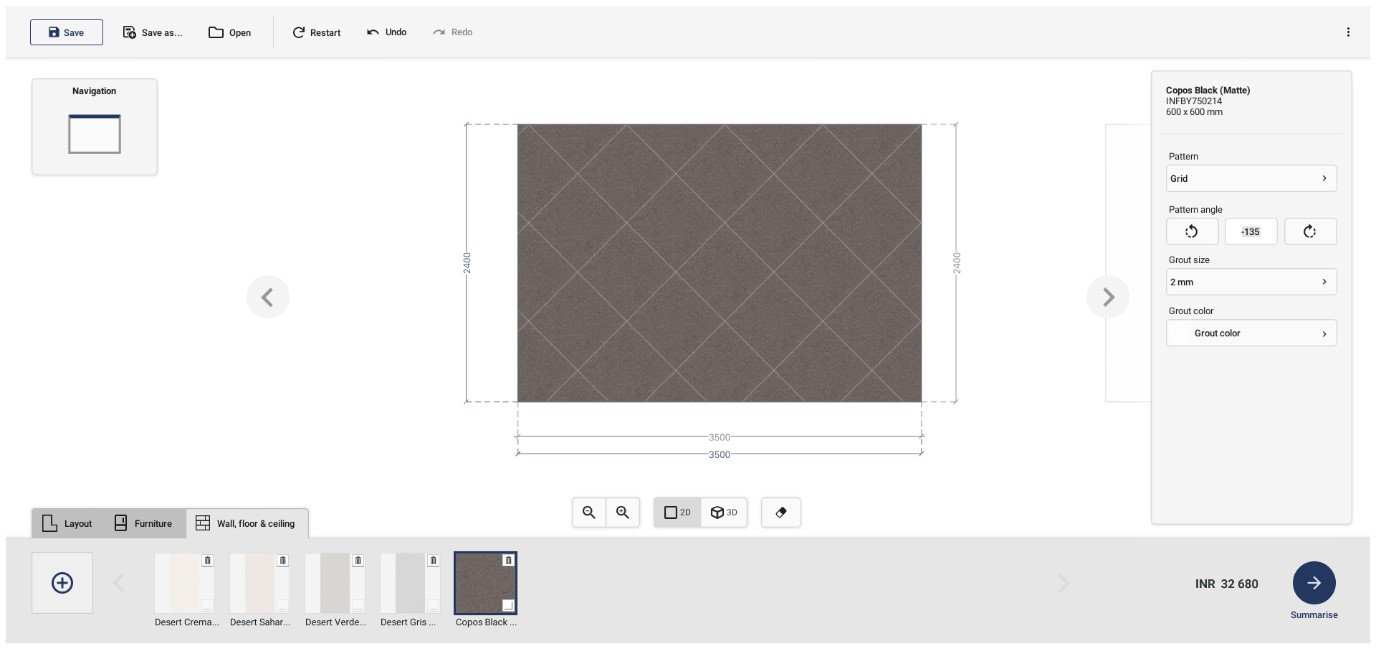
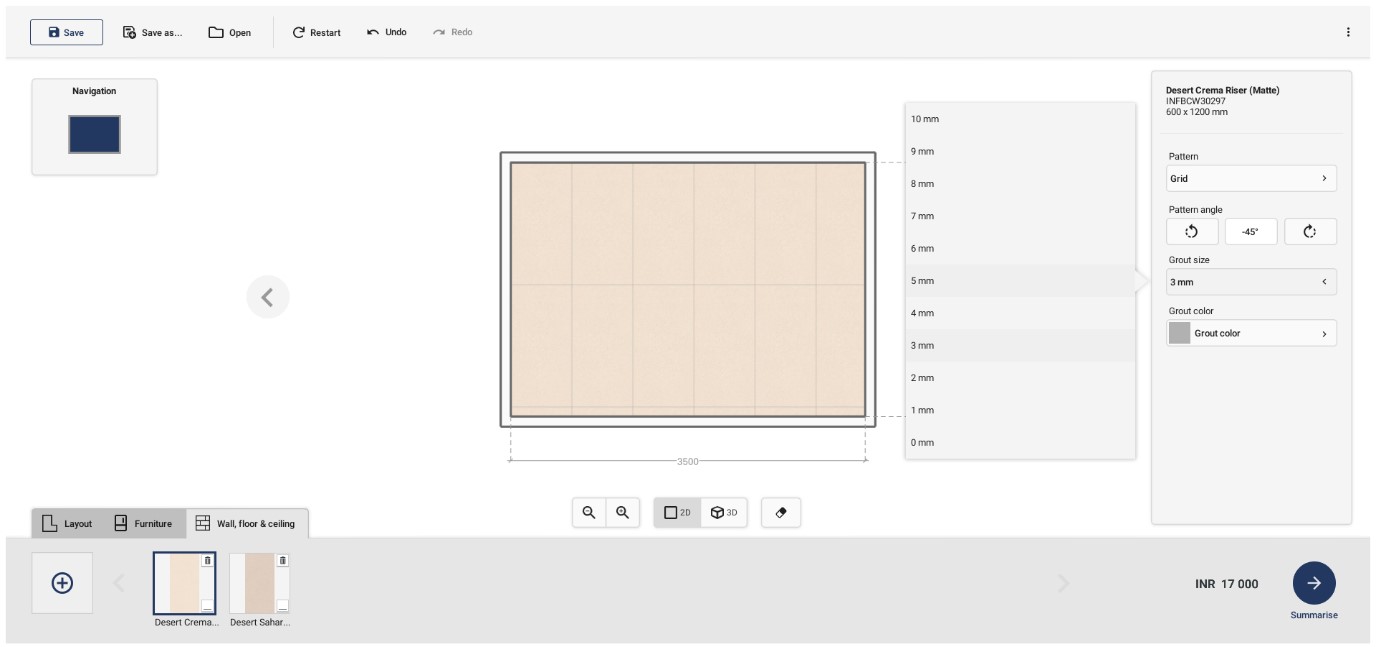
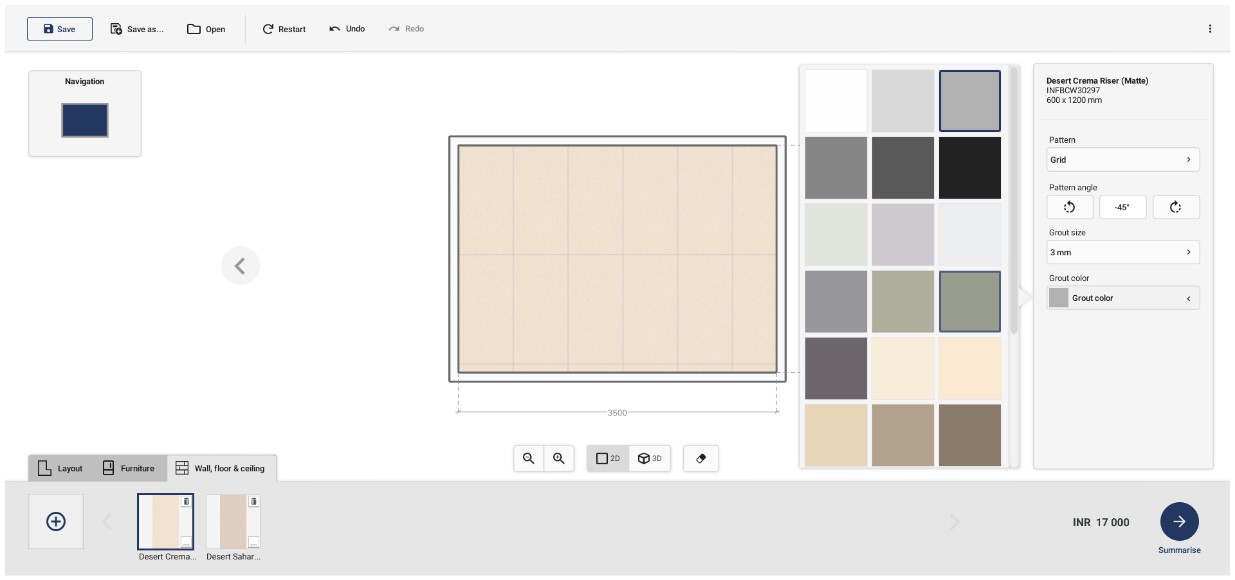
• You can modify the grout size and colour.
Removing tiles from the surface
- Select the Eraser tool.
- Click and drag across the surface where the product should be removed.
You can select pacific tile to erase also, while selecting eraser tool select tile to erase just.
After finalising all the surfaces, in Palette bar right side of the screen you see summarise button click on it.
You will transfer automatically in 3d perspective view.
Set the camara angle and click to summary. You will get render photo in your mail id with attached pdf with all the necessary details.
-
Step 4) Navigating through Summary on your email address.
:- Finding render in your email
- You will receive an email fromblueprint-cloudrender@spark-vision.com
- If not found in the inbox we request to check in the spam folder.
:- How to find the password
- Once you click on summary you will receive a password in your Email address that you put when you save the project.
: You can save up to 5 projects under a single email address, and you can also edit your saved projects by logging in with your email address.
Note :-
• If waste Diff (%) exceeds 25% please double check the layout and tiles laid.
• If waste exceeds, it is recommended to return to "layout" and "Tile Grid pattern" to reduce waste and obtain a more accurate MRP.
Importance of summary sheet
- It can help mason to see how to lay the tiles according to your preference.
- You will learn the approximate worth of tile usage and waste.
- The summary sheet depending on the laying of tile and pattern.
-
Step 5) Disclaimer
• It is always recommend to consult an professional such as architect, interior designer or mason to verify the quantity required.
• Smaller tile is used in smaller rooms, resulting in less tile waste during installation. If applying in a large room, its recommend to use bigger tile size, the less waste you'll have. Smaller tiles might require additional cuts and waste during installation.
• Room Shape : Irregularly shaped rooms or those with complex layouts can lead to more waste. The more cuts and adjustments required to fit the tiles into these spaces, the higher the waste.
• Tile Pattern : Some tile patterns, such as herringbone or diagonal layouts, may require additional cuts and waste compared to standard straight patterns.